

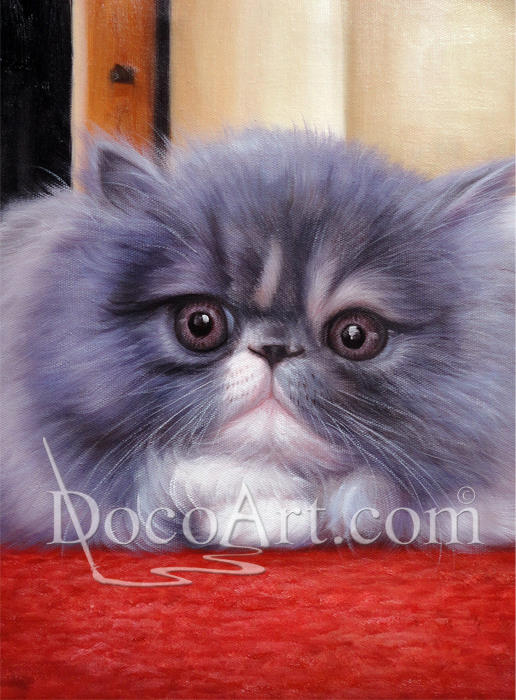
Painting cats is rather easy… if your goal is to make it to a preschool exhibition. Doing it realistically is quite another thing, though. We’ll clue you in on how to succeed in cat painting!
Skeleton structure
Knowing how a cat’s skeleton is built will allow you to achieve realistic proportions and a believable posture. The biggest part of a cat’s body is its chest which can be sketched as a large oval. The skull is formed by two joint circles, the head being approximately twice as large as the muzzle. Connected to the main oval by the spine line is the pelvis – a circle a bit smaller than the chest’s width. The front legs have four joints while the hinder ones have three. Note the distance between different parts of the skeleton and the range of their motion for better plausibility.
Face proportions
You already know that a cat’s head basically consists of two circles, one bigger and one smaller. To paint the muzzle, divide the smaller circle horizontally into six equal areas:
- - Draw a reversed triangle in the fourth area – that will be a cat’s nose tip.
- - Put the mouth in the lower part of the fifth area.
- - Add curvy vertical lines for the nose and the cheeks.
- - All that’s left is to add cheek and ear shapes to complete the face structure.
Whiskers and fur map
Whiskers aren’t just a couple of curvy lines protruding from a cat’s face. They grow in four areas: four rows on each side of the mouth (most noticeably), small tufts on the cheeks, a few lone bristles below the lower jaw and above the inner corner of the eye. Around the mouth, the whiskers are placed directly above each other and alternate like bricks in a wall. Note that they have different length and taper off from base to tip.
When it comes to painting the fur, you should stick with two basic rules:
- Make sure the fur in each area lies in the right direction.
- Paint the hairs in the direction of their growth.
That constitutes the so-called fur map which is quite simple to remember. In short, hairs grow radially on a cat’s face (with little variance around the eyes, on the nose and near the ears), then go all the way along the spine and descend down its front and hinder legs.
These are just a few basic guidelines for painting a cat. Keep observing and practicing – and one day a feline from your painting will spring to life!